
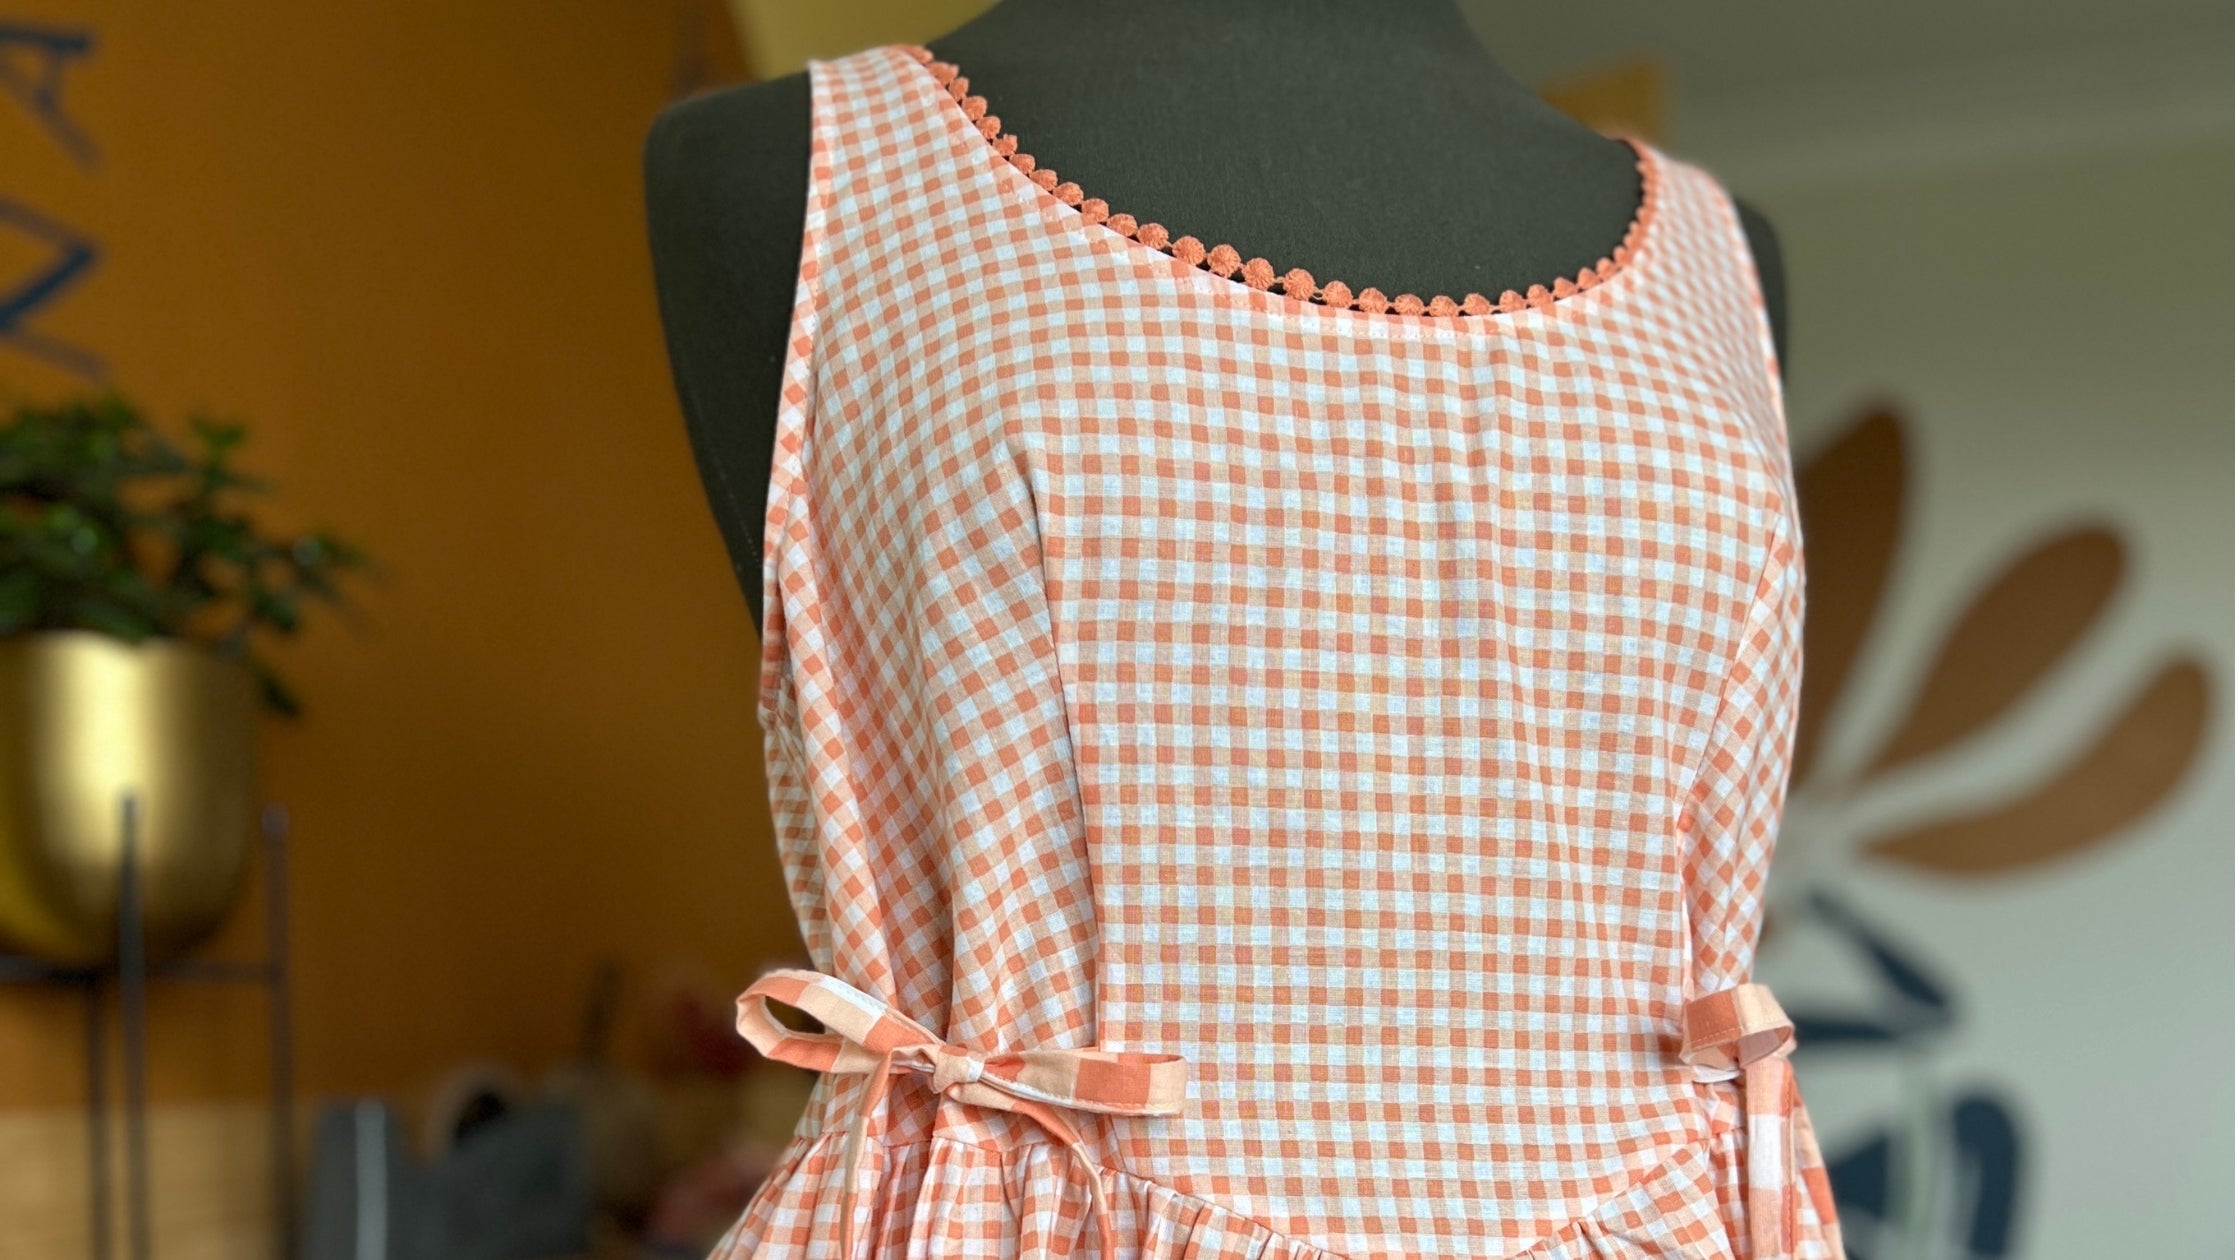
Turning the high Willow neckline into a low scoop neckline
Sometimes you make a pattern exactly as it’s designed and sometimes you want to change it up a little.
If you’ve ever looked at the Willow neckline and thought “I love it, but I’d love it even more if it was a little lower” then this hacks for you.
This is a really simple sewing hack that lets you transform the high neckline into a scoop shape. No complicated pattern drafting, just a simple tweak that make a big difference!
Why you might want to lower the neckline
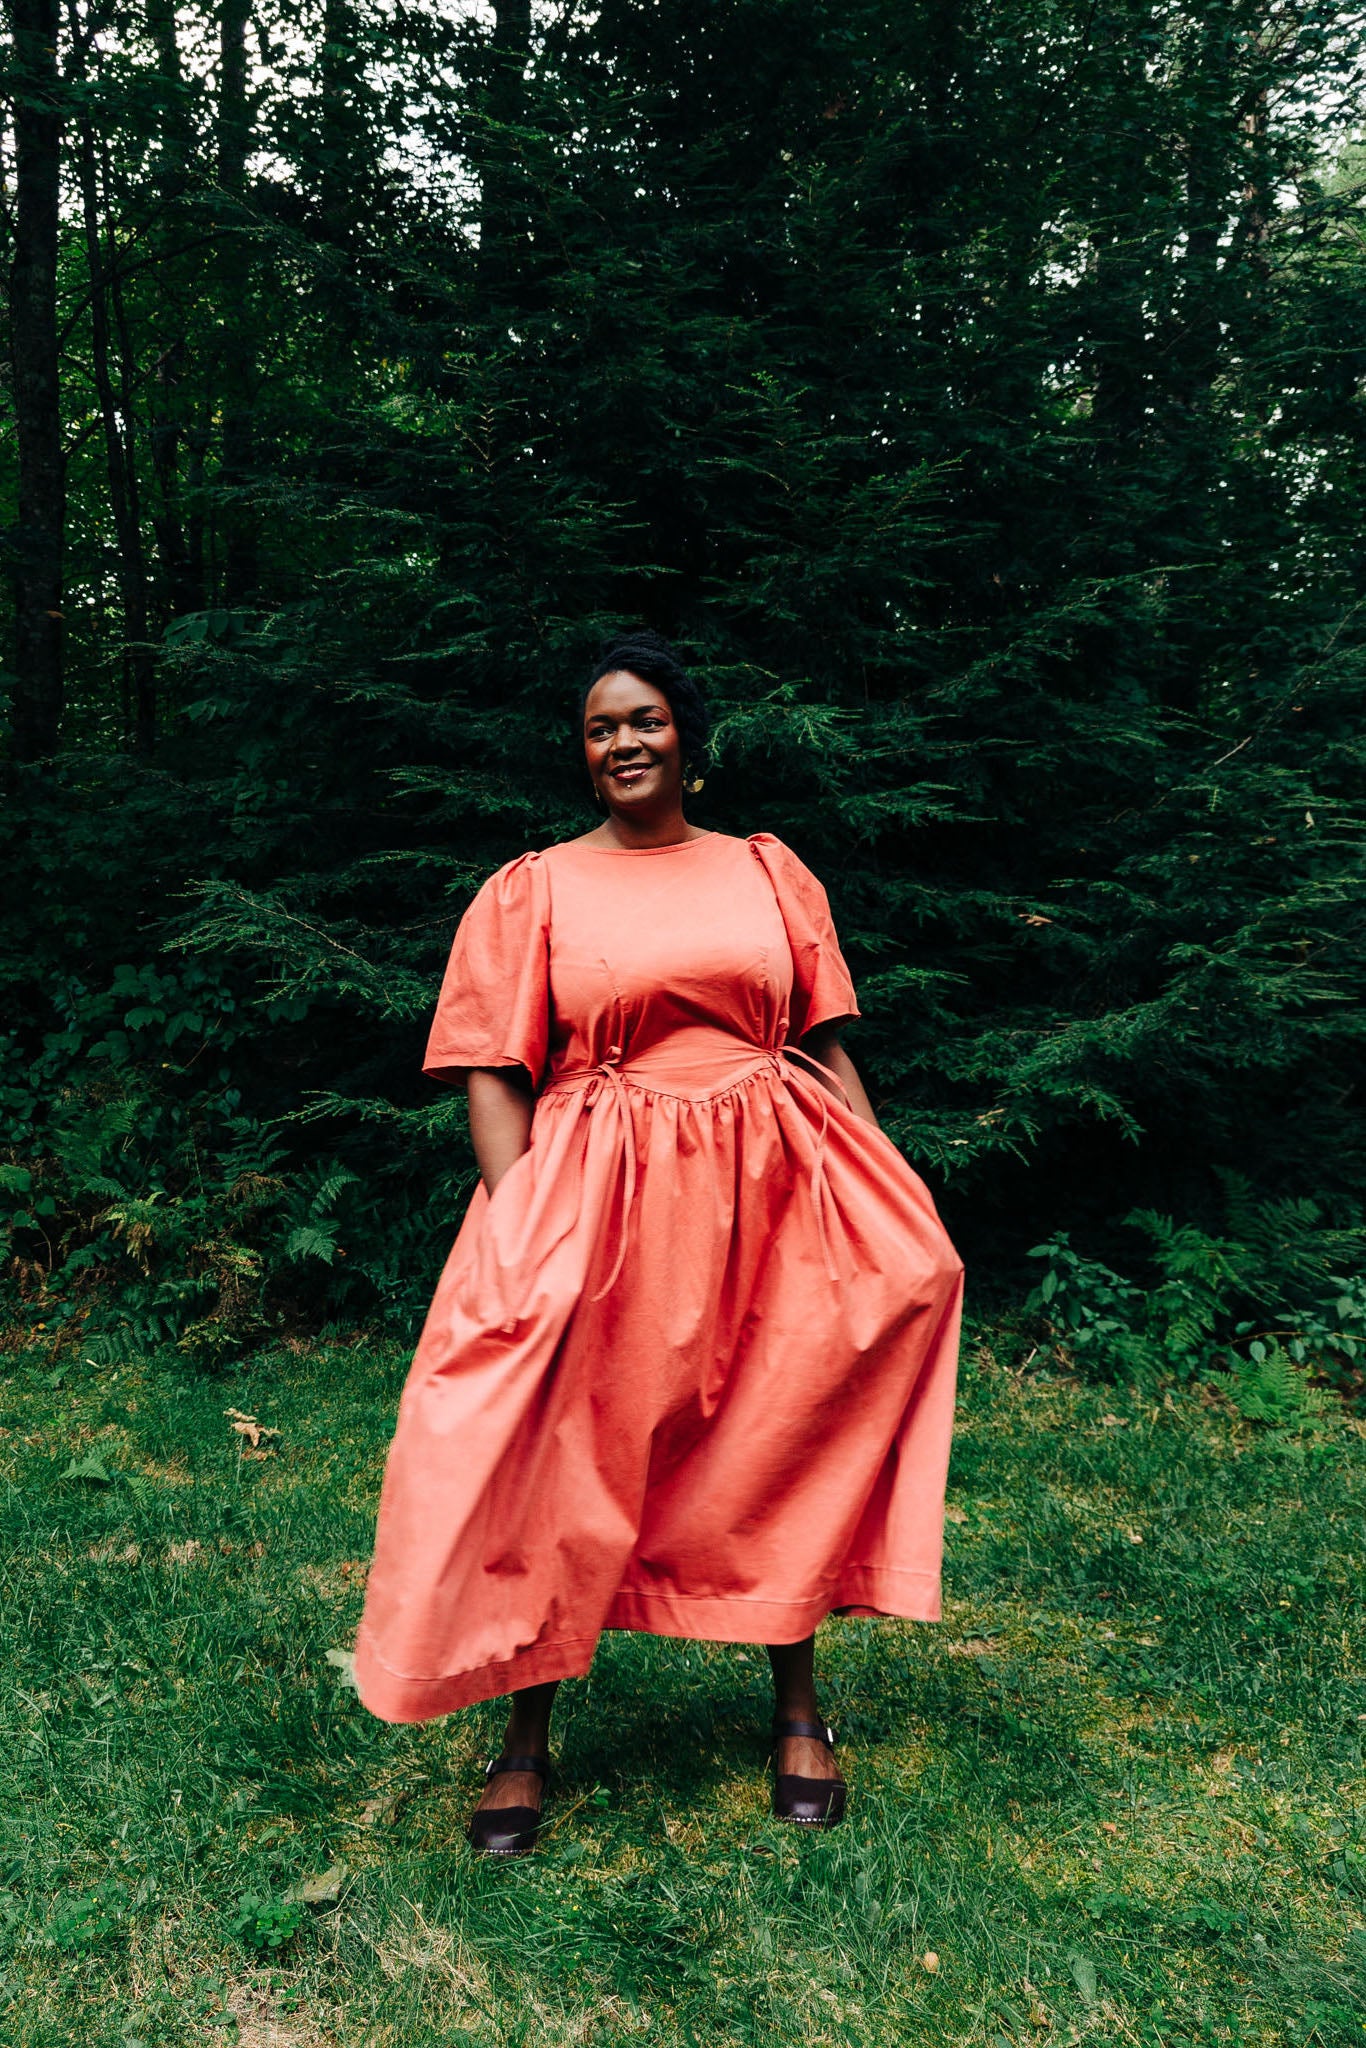
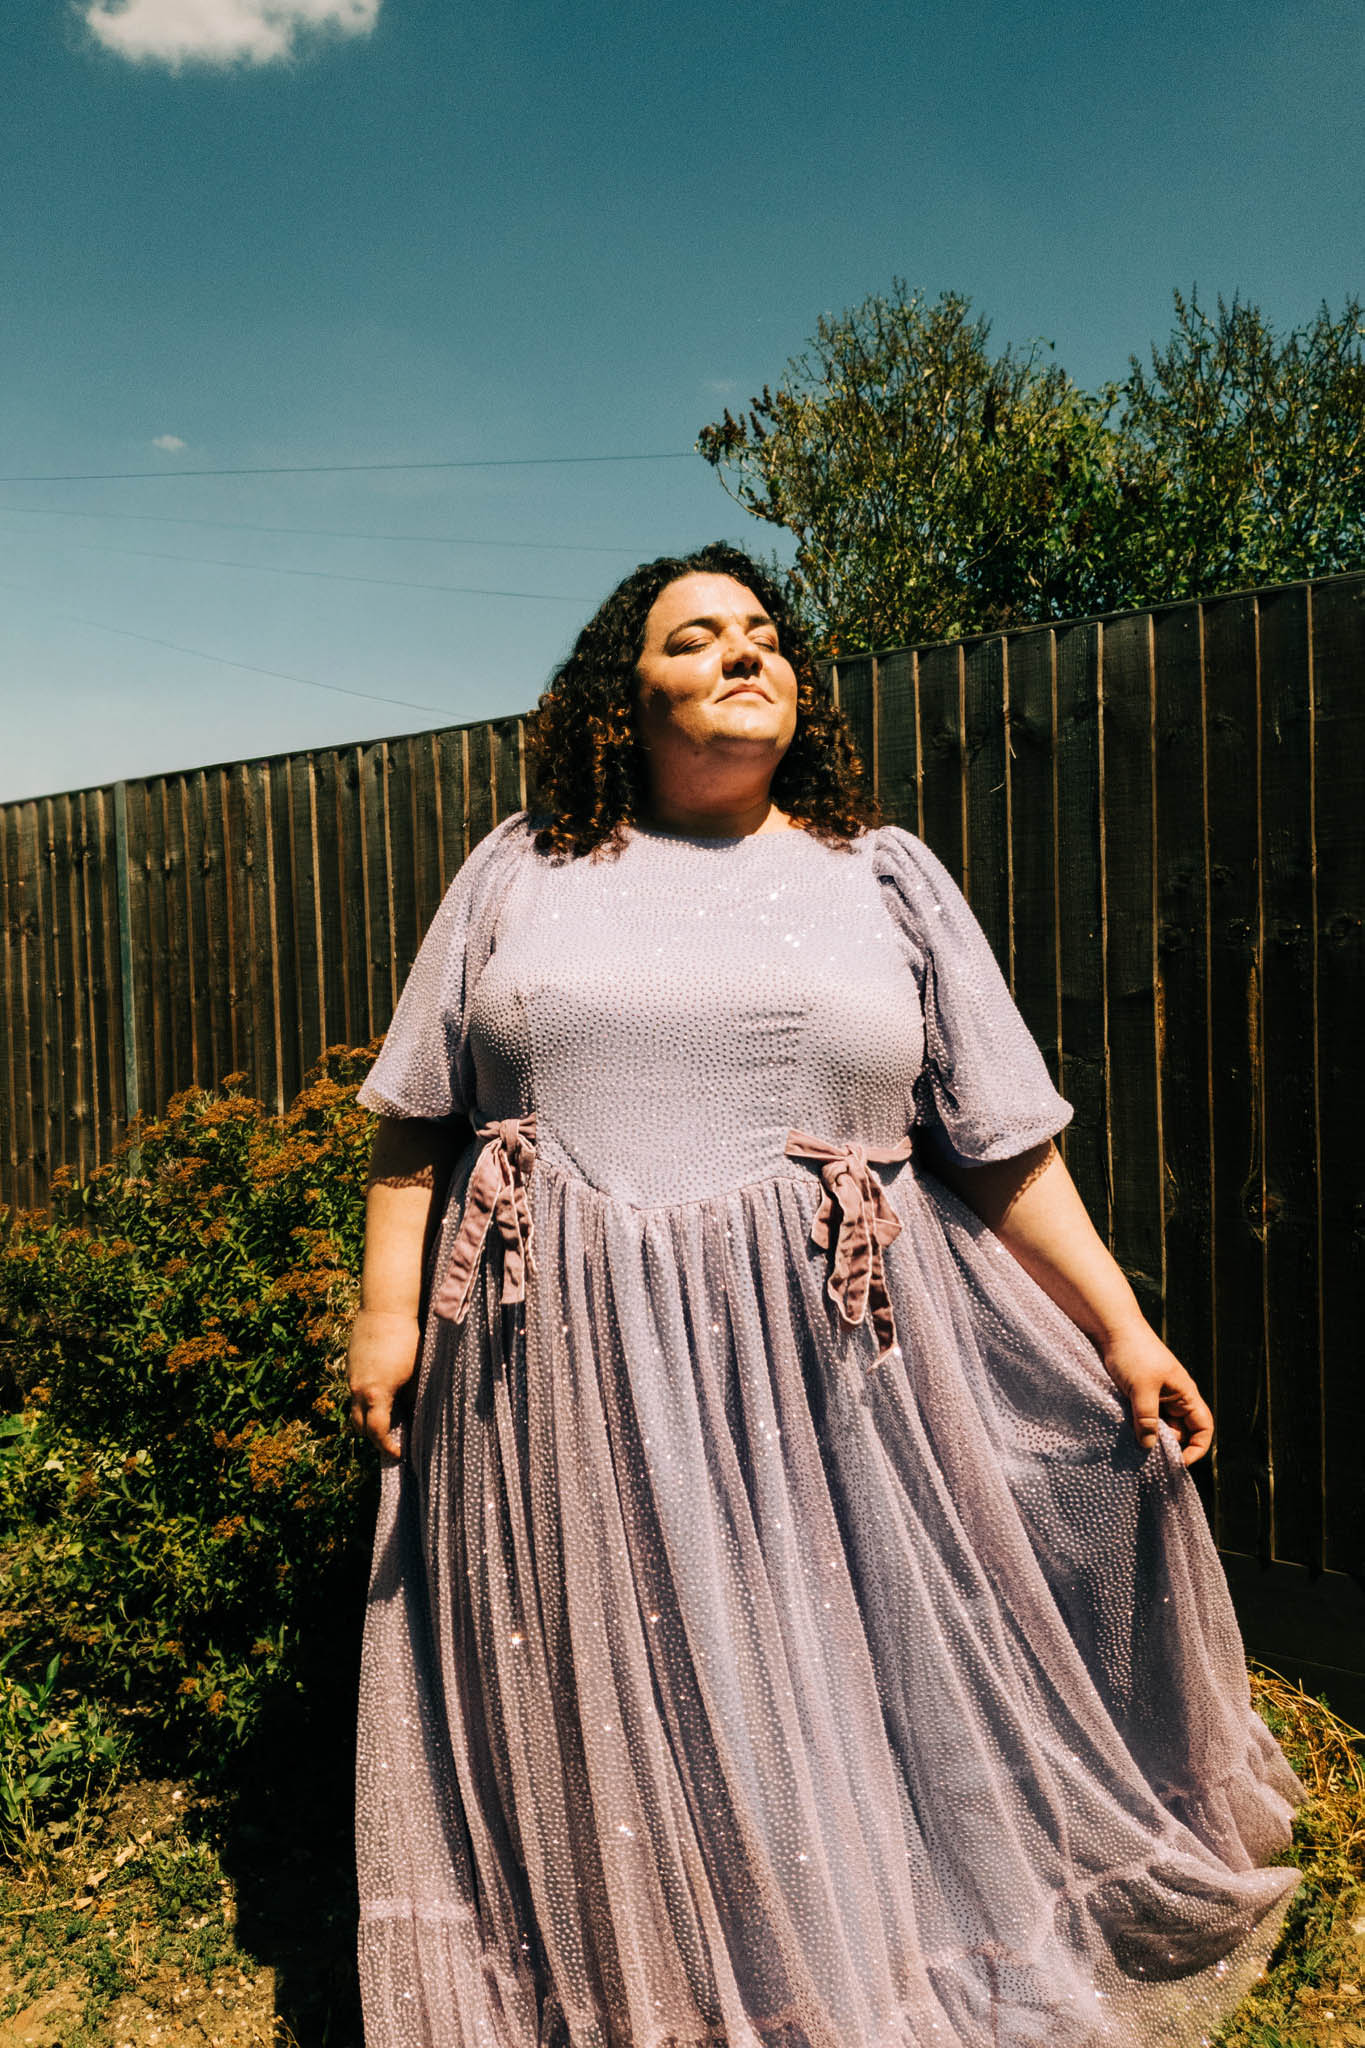
The original high neckline is beautiful and structured, but a scoop neckline can feel:
- Softer and more relaxed
- A little more open and airy (especially for warmer days)
- Perfect if you love layering or adding your own personal touch
It’s such a lovely way to make the pattern feel more you.
What you’ll need
- Your Willow pattern (front & back bodice piece)
- A pencil
- A ruler or measuring tape
- A French curve (or anything with a gentle curve — even a plate works!)
- Paper scissors
Step 1: Decide how low you want to go
First things first, try on a finished Willow or hold the pattern piece up to your body and have a little play.
Ask yourself:
- How low do I feel comfortable going?
- Do I want a subtle scoop or something more open?
A good starting point is lowering the centre front by 2–5cm. You can always adjust this depending on your preference.
Mark your new neckline point at the centre front. Trace off the original front bodice piece onto pattern paper so you don't ruin the original copy.

Step 2: Redraw the neckline
Keep the neckline at the shoulder seam the same (this helps everything still fit nicely)

Draw a new curved line from the shoulder neckline point down to your new centre front mark. You can use the curve of the back neckline to draw in your new scoop front neckline if you don't have a French curve.
If it helps, sketch lightly first and adjust until you have a smooth curve.

Step 3: Cut your new neckline
Once you’re happy, cut your new pattern piece out and you're good to go! The construction remains the same as the instruction booklet included in the sewing pattern. You will just need more binding to finish the new neckline.
That’s it - you’ve just created your new scoop neckline 🎉

Optional Step: Adjusting strap width
For this sample, I chose to make the straps thinner. I took 1cm off both the inside and outside shoulder line. You may wish to leave the straps as they are or adjust as I have done here.
NOTE: if you reduce the front bodice shoulder width, don't forget to reduce the back bodice shoulder width by the same amount also.

A little note before you sew
Because you’ve lowered the neckline the fit around the neck will feel slightly more open. You might want to double check your bra coverage or layering preferences and if you’re ever unsure, you can always make a quick toile (even just the top half) to test it out.
And that’s it 💛
Such a small change, but it completely transforms the feel of the garment.
If you try this hack, I’d love to see your version. It’s always so lovely seeing how everyone makes a pattern their own ✨


1 comment
Great, I’m going to have a go at this as I prefer a more scooped front neckline but I love my willow!
Share: