

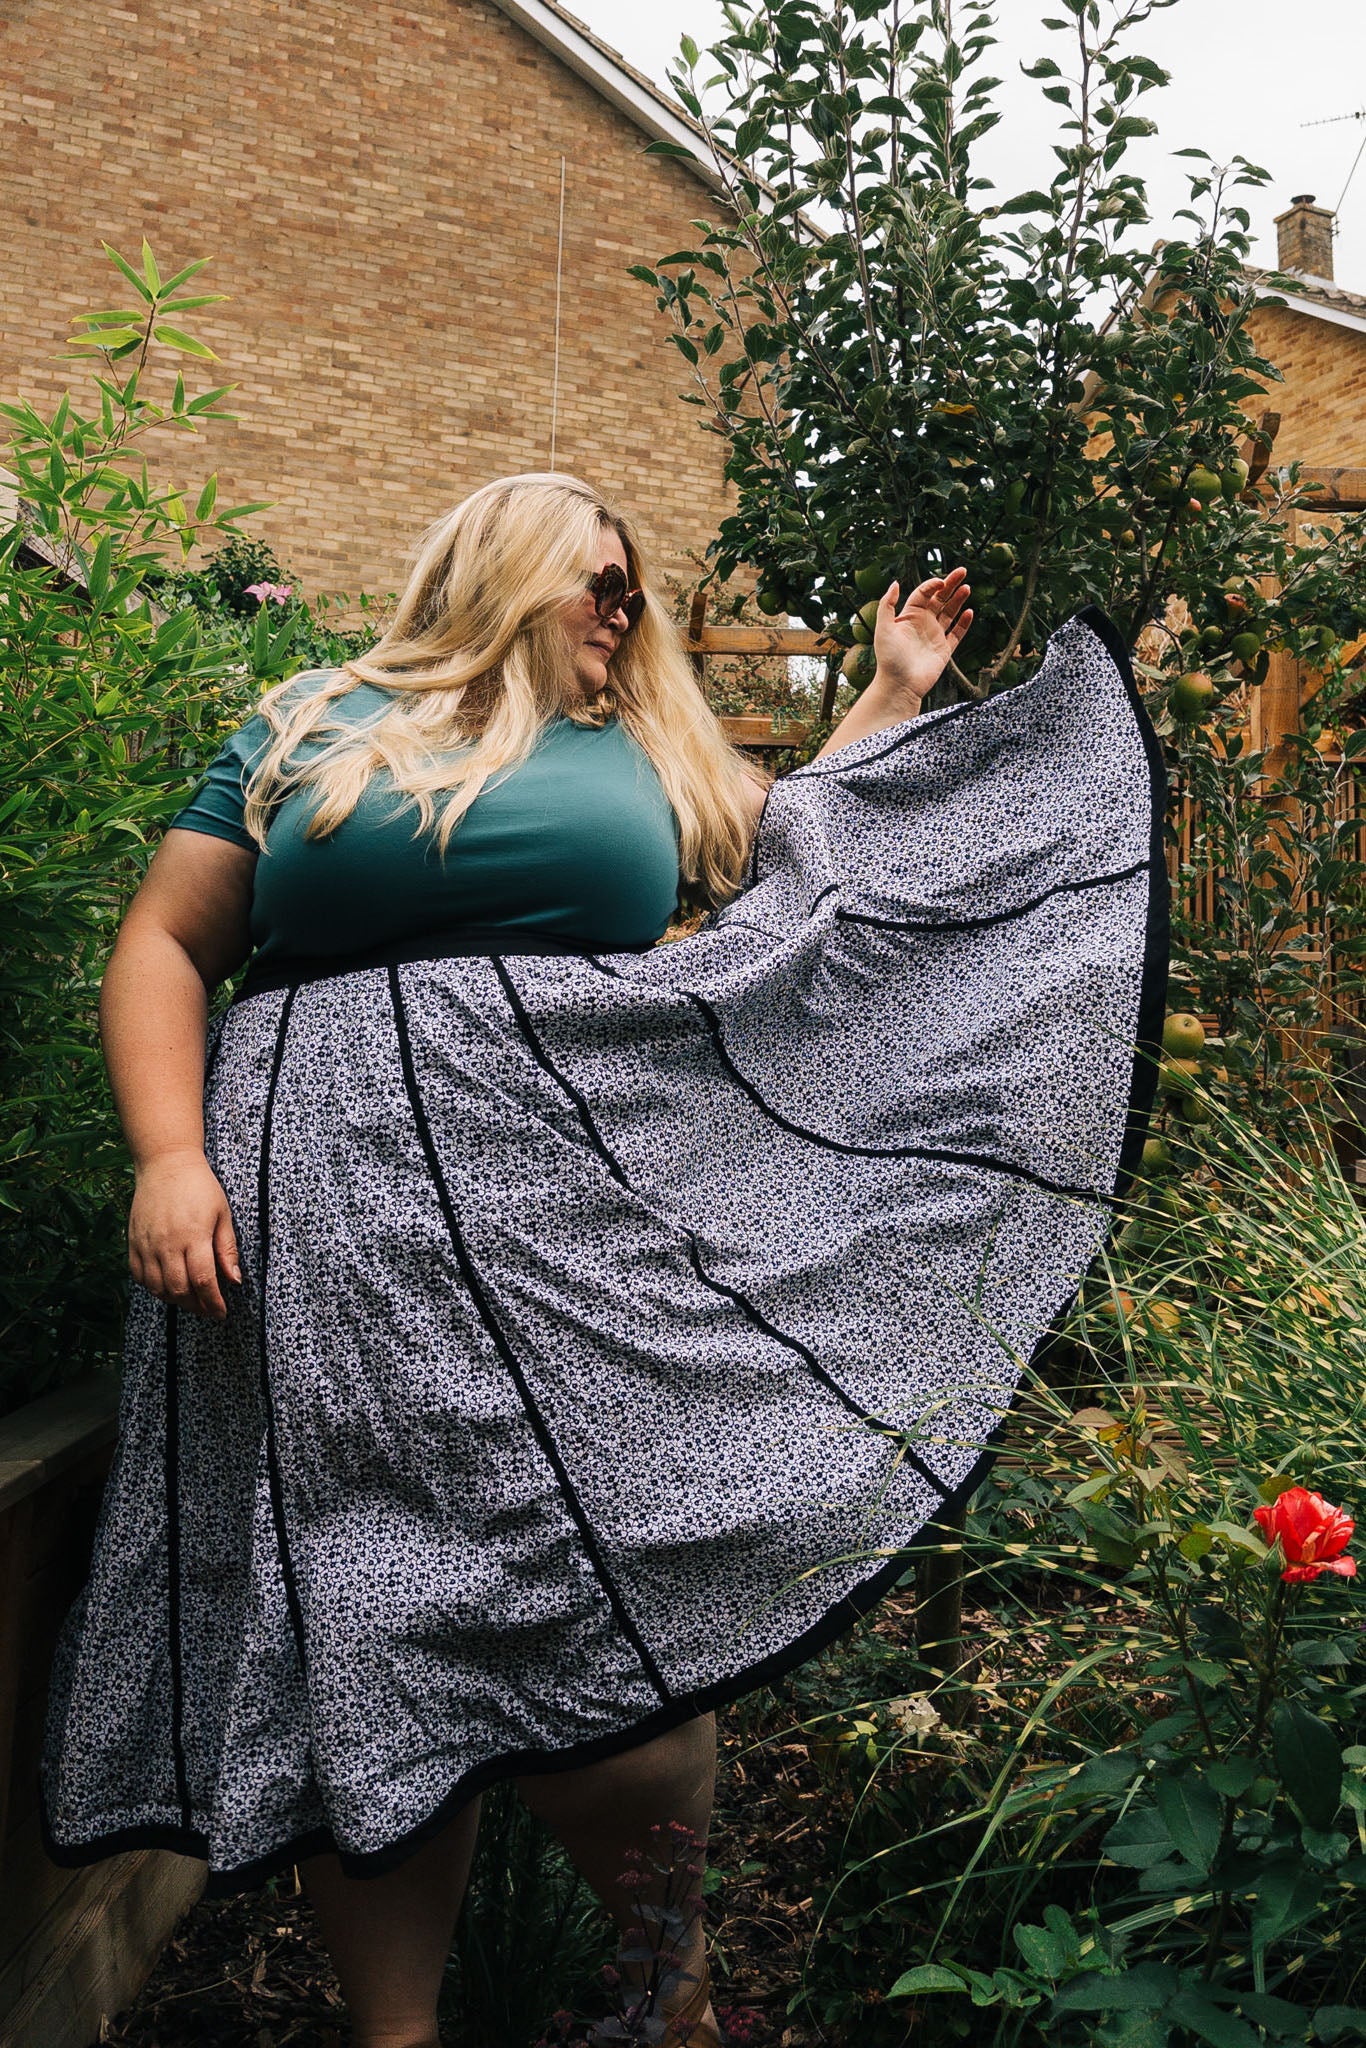
This might be one of my favourite sewing pattern hacks of all time! I have been wanting to do this hack ever since Kirah @selvedgesews shared her sewing inspiration on Instagram featuring a Pinterest inspired colour-blocked, scalloped hem skirt. I took her inspo and ran! The Sylvie sewing pattern is made up of 13 panels so you can get really creative with colours and use up those scraps that you're clinging onto (I'm mainly talking to myself here haha). You can have SO much fun with it! For this make, I bought lots of remnant fabric from SewMeSunshine in a variety of linen mixes.
Today, I'm going to share a sewing tutorial with you to turn your straight hem Sylvie skirt into a scalloped hem with binding.
Step 1 - amend the sewing pattern
This will work with both the midi and mini length.
Adjust the skirt pattern piece at the hem to a round shape. I marked the middle of the panel along the hem and then I measured roughly 13cm (5") from the bottom of the hem up the side of the panel. Using a pattern master or French curve (or anything that will give a nice curve - a dinner plate will do!) round off the corners.

Trim the corners but keep the off-cuts in case you want to make a straight hem Sylvie skirt in the future!

Step 2 - Cut your fabric
Using your new pattern piece, cut the fabric out. If you're going for a colour-blocked version, you might want to spend some time thinking about the order of your colours and add a label to each panel with a number so you remember the order.

Cut all other pattern pieces as normal.
Step 3 - Finish the panel edges
For this sewing project, I used 25cm (1") wide bias tape which comes flat with no folds. Because I want this bias binding to be visible, I used my Pfaff bias binding foot to attach the bias tape to the panel in one single motion!

Add bias binding to the right side of each panel continuing around the curve of the hem and then overlock (or zigzag stitch) the left side of each panel.

If you're including pockets in your Sylvie skirt then go ahead and sew these as per step 2 in the instruction manual.
Step 4 - Sew the panels together
Grab the panels for the front of the skirt and pin them together overlapping from left to right (wrong side to right side). Overlap each panel by 1cm (3/8") and pin in the stitch line on the binding.

Pin all the way down each panel making sure there is a 1cm (3/8") overlap and that the bottom curve covers the overlocked edge.

Sew the panels together following the stitch line on the bias binding. Follow the curve at the end of the panel.

Repeat all of this step for the back panel pieces and then sew the front and back together at the right side seam in the same way as above. Trim the excess binding from the top of the panels. You'll now have 13 panels sewn together ready for the waistband.
Step 5 - Sew the waistband
If you want to add waist ties, follow step 5 in the instruction manual.
Sew the waistband as per step 6 in the instruction manual and then finish the front/back waistband long edge with binding.
Wrong side to right side, place the waistband on top of the skirt panels and overlap by 1cm (3/8"). Make sure that the end of the waistband finishes flush with the skirt panel at the back. Make sure that the end of the waistband at the front overlaps the skirt panel by 1cm (3/8").

Sew the waistband to the panels following the stitch line on the binding. If adding waist ties, sew the remaining one onto the left back waistband.
Step 6 - Insert the invisible zip
So here's where things go rogue because this isn't a typical way of inserting an invisible zip but this worked for me!
Insert the invisible zip on the back side panel as per the instructions. Insert the other side of the invisible zip on the front side panel but only at the waistband.

Fold the zip back into position so the entire zip is against the wrong side of the front side panel. Pin and sew together in the binding stitch line, stopping when you reach the zip pull.

Follow the instruction manual to sew the waistband facing to the zip. Do this on both sides of the zip.

Step 7 - Finish the waistband
Follow step 9 in the instruction manual to add the elastic to the back of the skirt. Follow step 10 in the instruction manual to close the waistband facing. However, instead of stitching in the ditch, stitch along the stitch line that's already visible on the binding.
Step 8 - Sew the side seam closed
Continuing with the way that worked for me (closing the side seam was trial and error haha!)
Unfold the seam allowance of the back side panel and pull it across to cover all of the invisible zip.

Place the front side panel on top of the back side panel, overlapping by 1cm (3/8"). Pin and sew together like the other panels. Sew along the stitch line of the binding from the bottom of the zip to the end of the curved panel.

TA-DAAAA! You have one beautiful twirly Sylvie skirt!


Share: