
Swapping thin elastic for thick elastic in the Isla sewing pattern
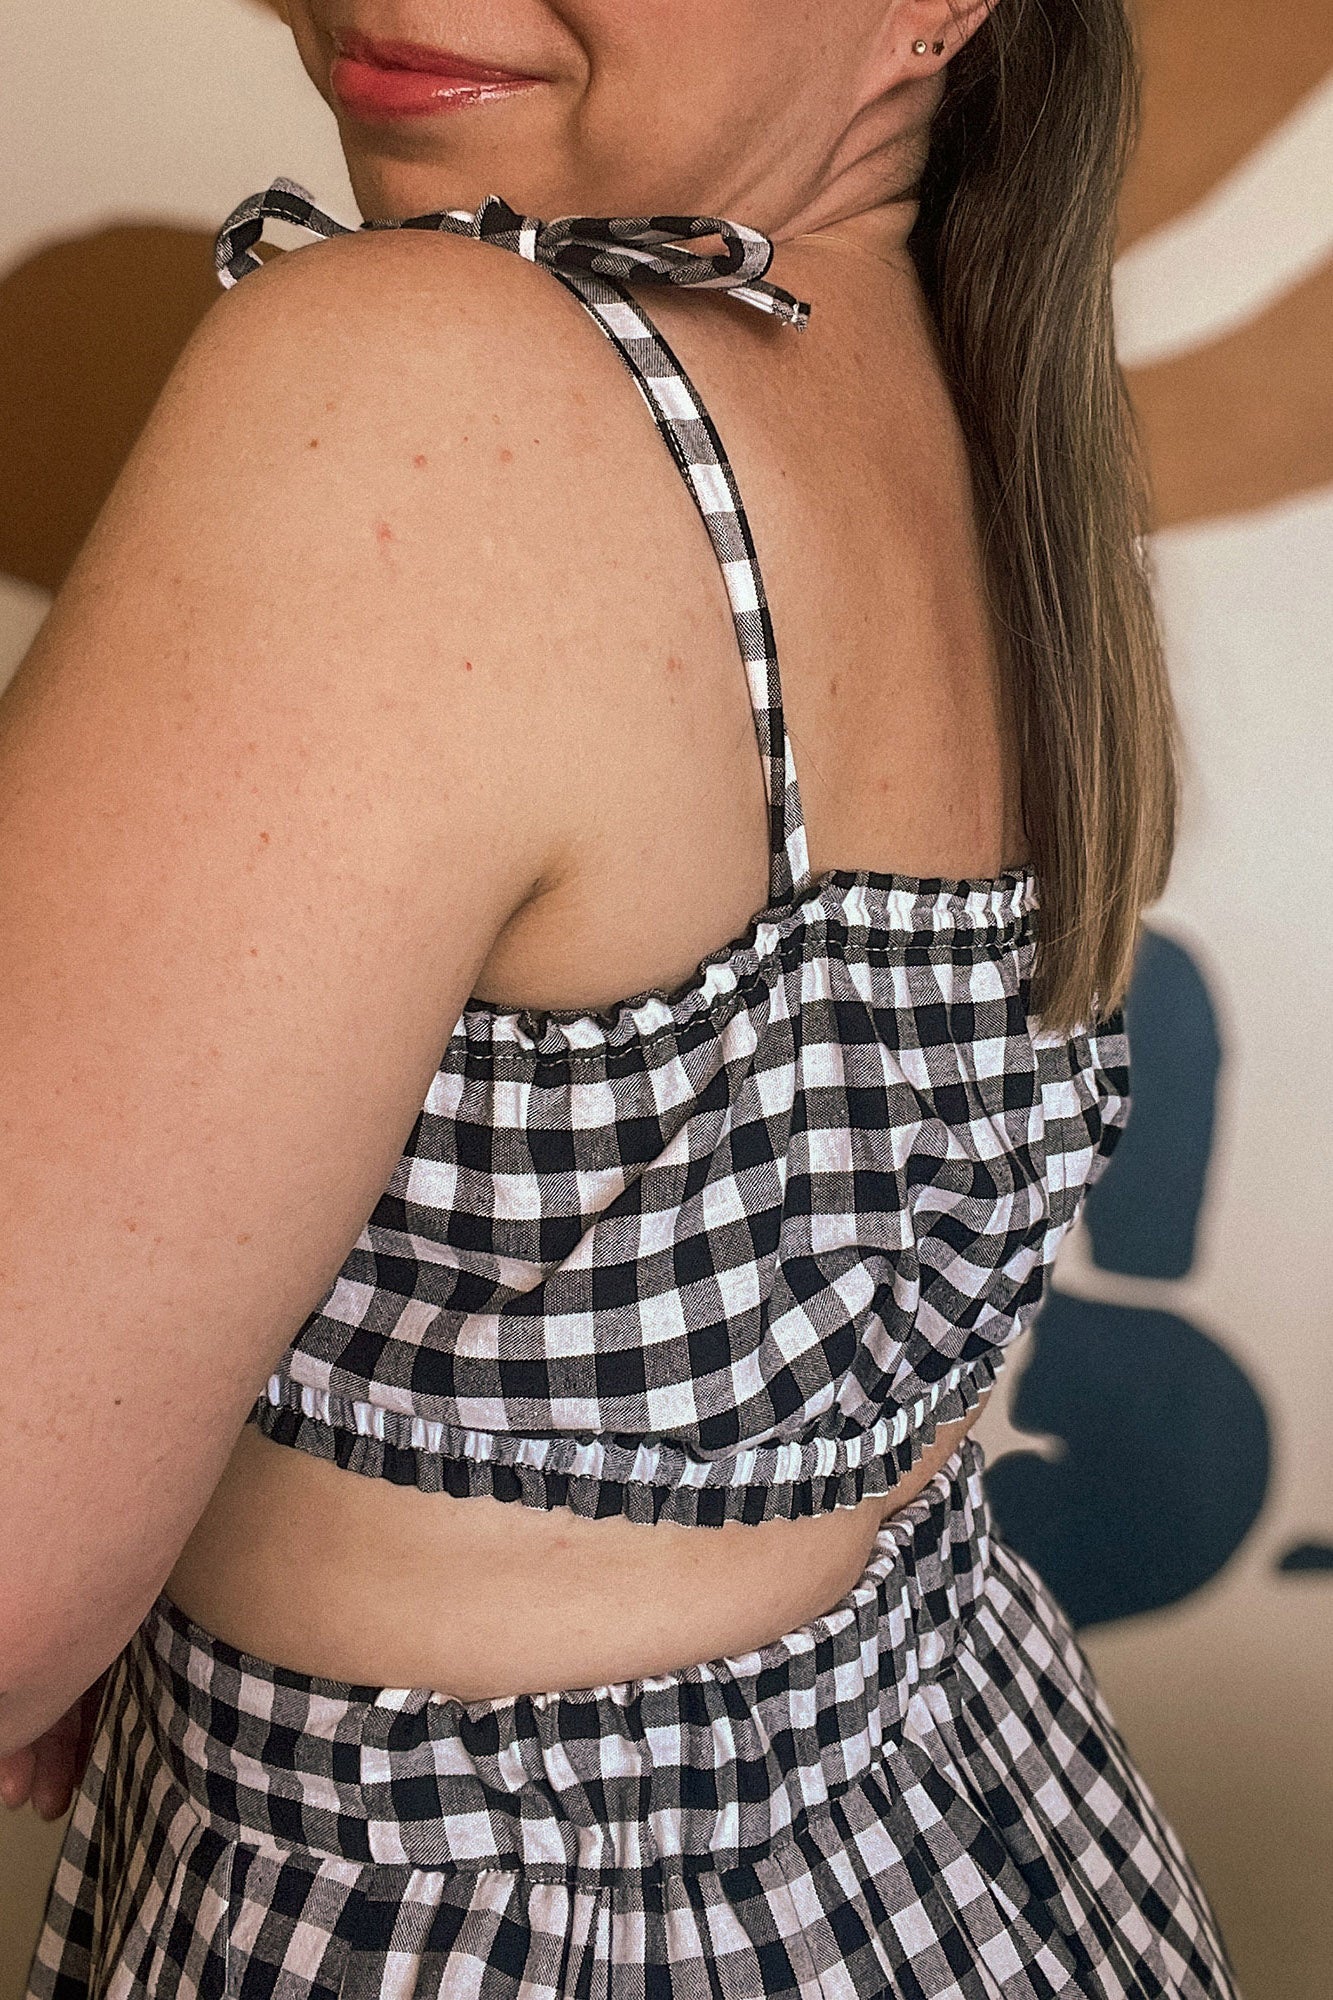
The Isla sewing pattern is designed with elastic at the upper bust and underbust to give a comfy, flexible fit. Originally, the pattern uses 0.6cm (1/4”) elastic but if you prefer a bit more structure and support, this simple elastic hack is for you.
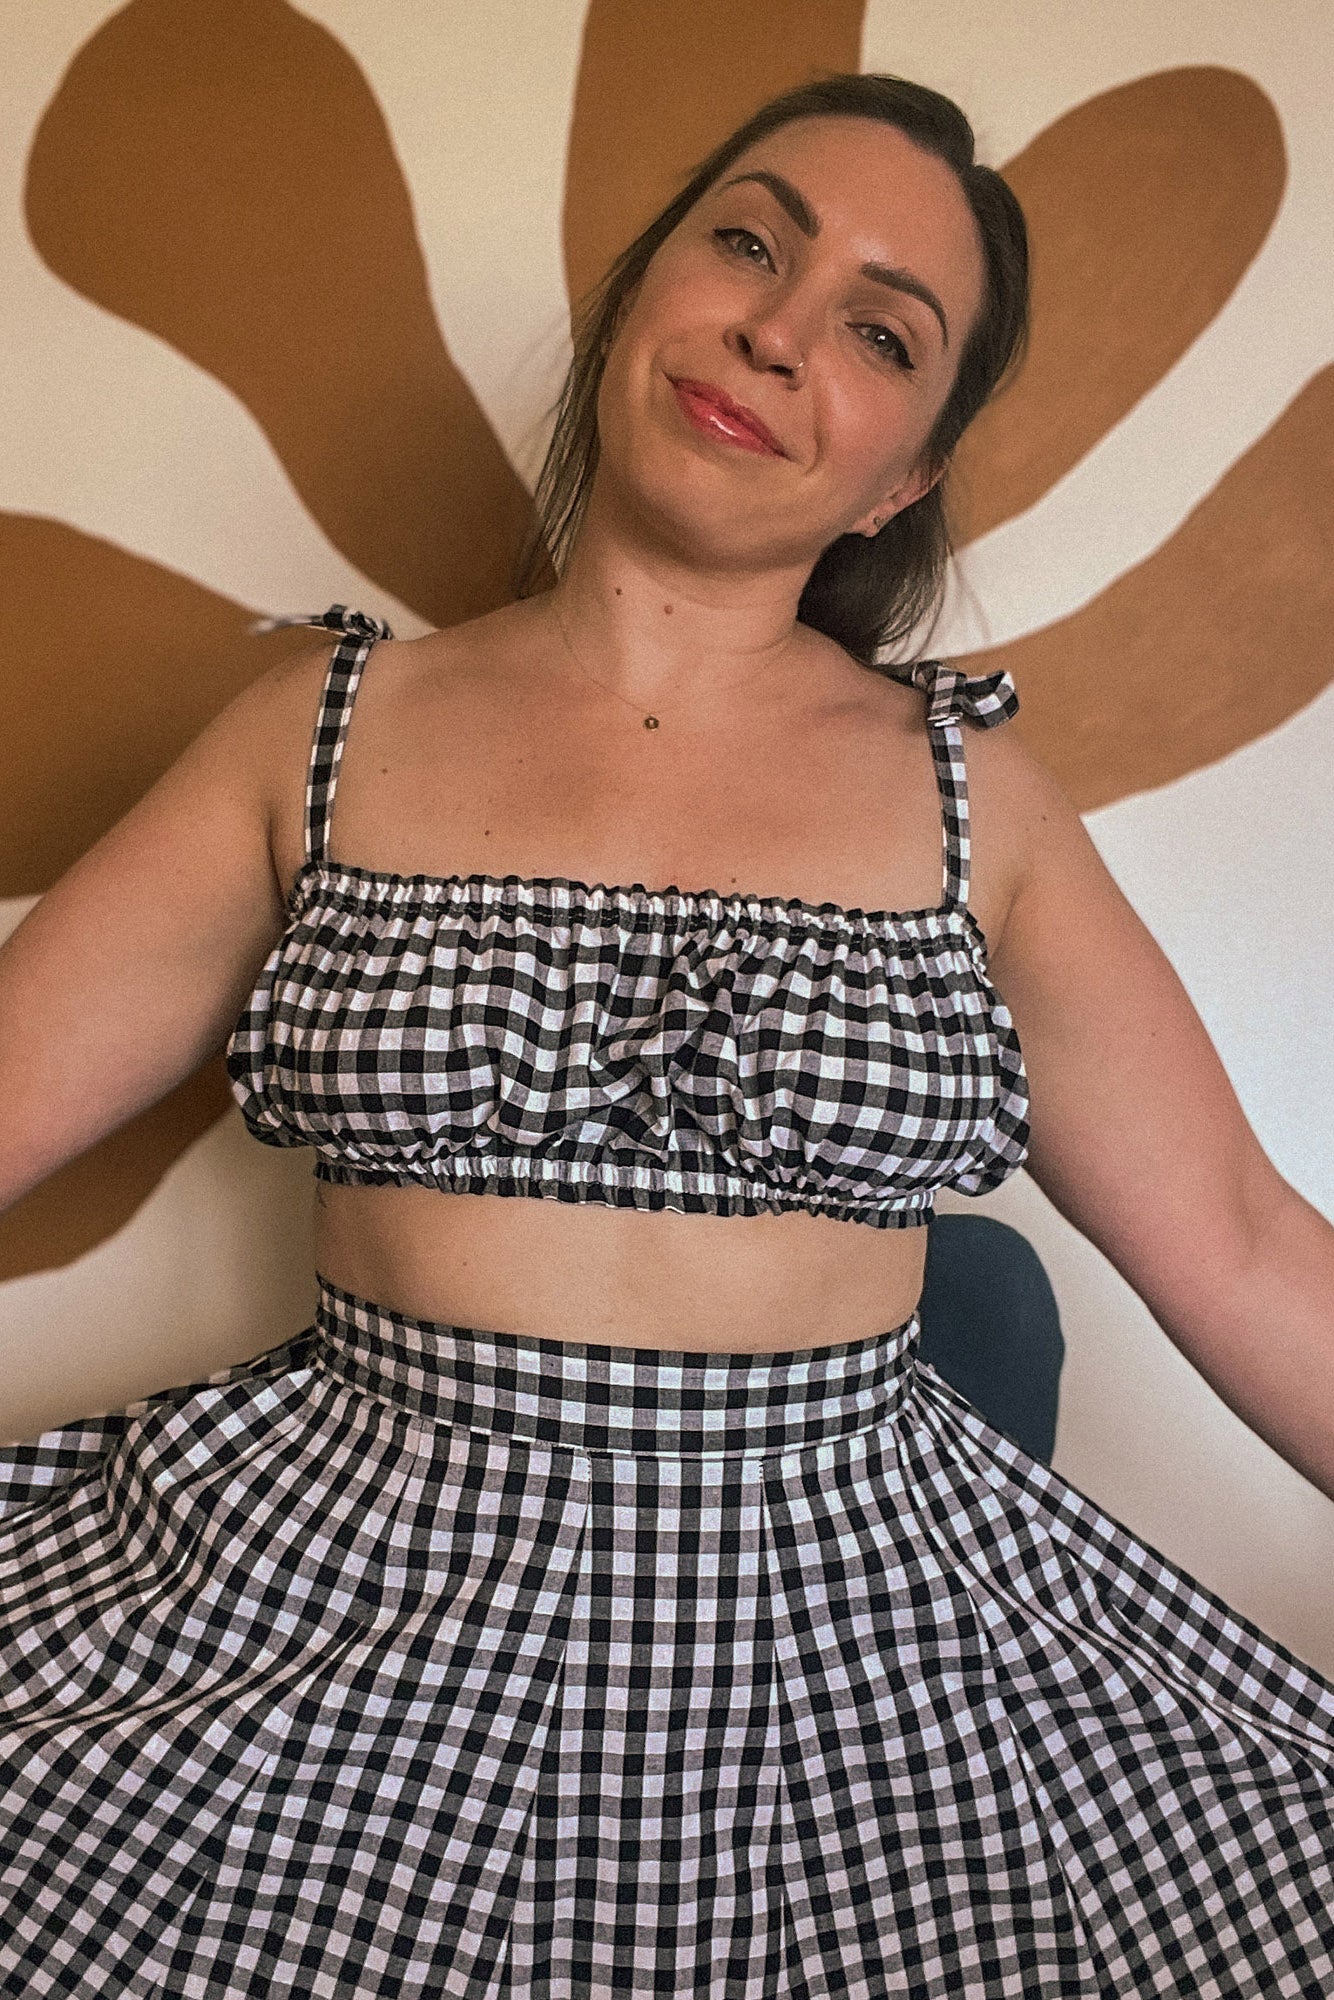
I’ve been testing Isla with wider elastic, and I love it! In this blog post, I’ll walk you through how to swap the thin elastic for 3cm (1.25”) elastic and exactly how wide to make your elastic channel so everything sits comfortably and looks neat.
This is an easy pattern hack and totally beginner-friendly.

Why use thick elastic instead of thin elastic?
Wider elastic spreads the tension over a larger area, which can feel more supportive at the upper bust, more secure under the bust and less “diggy” than narrow elastic.
If you prefer how wide elastic feels against your body, this swap is well worth trying.
Which elastic to use
For this hack, I've used:
-
3cm (1.25”) wide elastic
-
A soft, good-quality elastic with decent stretch and recovery
Avoid very stiff elastic; you want it supportive but still comfortable enough to wear all day. You can choose any width elastic you have and I'll talk you through how to make the channel wide enough.
How wide should the elastic channel be?
This is the key part of the hack. For elastic channels, you always want a bit of ease so the elastic can move and lie flat once it’s threaded through. But not too much ease otherwise your elastic will flip and twist inside the channel.
Recommended channel width:
-
Elastic width: 3cm (1.25")
-
Finished channel width: 3.5cm (1.38")
You'll then need to add on any seam allowance needed to the finished channel width.
This gives you enough room to thread the elastic easily and space for the elastic to sit flat without twisting.
How to adjust the Isla pattern for wider elastic
Step 1 - add the extra width onto the fabric measurements
When measuring your body for the length of your Isla top or dress, you'll need to add extra length to cover the extra width of the elastic. If you're using 3cm (1.25") elastic with a channel width of 3.5cm (1.38"), then you'll need to add 3.5cm (1.38") onto the length of your dress.
Step 2 - sew the top high bust channel
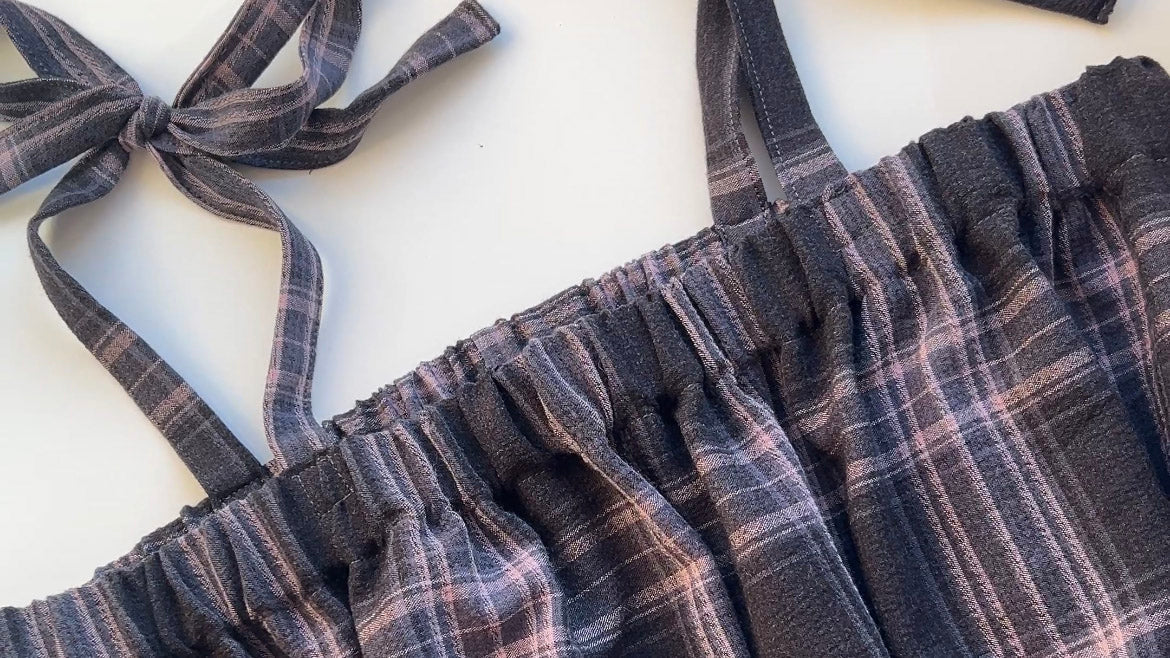
The process is the same as normal but the measurements differ. Fold down the top raw edge by 1cm (3/8") and press.

Double check the width of your elastic which you can see here measures 3cm (1.25").

Fold down the top edge again by 3.5cm (1.38") and press. This will give enough space for the elastic to thread through once you've topstitched the channel down. Follow the Isla construction steps, just with the adjusted channel width. Remember to keep a gap open to thread the elastic through.

Step 3 - make the new middle elastic channel
To make the new middle elastic channel, follow the original instructions for the length but instead of the width for the thin elastic you'll need a width that will allow for the new wider elastic.
Here's how I worked out how wide to cut this strip:
- Width of elastic is 3cm (1.25") + 1cm (3/8") = 4.5cm (1.77") ***
- Add 2cm (3/4") on for seam allowance
- Total new width is 6.5cm (2.5")
***it could be 4cm (1.5") elastic + 1cm (3/8") = 5.5cm (2.1"). The extra 1cm (3/8") is to allow for stitching the channel in place and still leaving enough room for the elastic to pass through.

Step 4 - Sew the middle channel onto the garment
Follow the instructions for adding the middle channel and once pinned in place, sew one row of stitches all around 0.2cm (0.05”) from the edge of the channel. Sew a second row of stitches 0.2cm (0.05”) from the other edge of the channel leaving a 2.5cm (1”) gap to slide the elastic through.
Step 5 - Thread the elastic through
Add the elastic as per the instructions and try the garment on and adjust the elastic length if needed before sewing the gap closed.
How tight should the elastic be?
This part is personal preference, but as a general guide:
-
The elastic should sit snugly against your body
-
You should be able to move, breathe and lift your arms comfortably
-
It shouldn’t pull the fabric into deep gathers unless that’s the look you’re going for
Always test before securing the elastic as a quick try on can save a lot of unpicking!
Is this hack suitable for beginners?
Yes absolutely! If you can sew a straight seam, measure accurately and thread elastic through a channel, you can do this hack. It’s a great way to start understanding how small changes can customise a sewing pattern to suit your body and preferences.

This thick elastic hack is a simple way to change the look and feel of the Isla sewing pattern without overcomplicating things. Whether you want a bit more support or just prefer wider elastic, it’s an easy adjustment that makes the pattern work even better for you.
If you try it, I’d love to see it! There’s nothing better than seeing how everyone puts their own spin on Isla 💛


Share: